Email infrastructure is a critical component for many applications and there are a lot of use cases for it, from sending marketing emails to increase retention, to verifying account signups. In this article, we’re going to learn how to integrate SendGrid, a service provider that makes it super easy to send emails from your applications at any scale, with Serverless Cloud.
Creating the Serverless Cloud App
If you don’t already have a Serverless Cloud app, create a new empty directory called cloud-email, then open this new empty directory in your favorite IDE. This will be the directory containing your app files. Then, using your IDE's built-in terminal, initialize a new Serverless Cloud project by entering the following command:
You may be prompted to login if you haven’t already, then the CLI will ask you to create a new application and select a template to get started with. Choose the JavaScript API template.
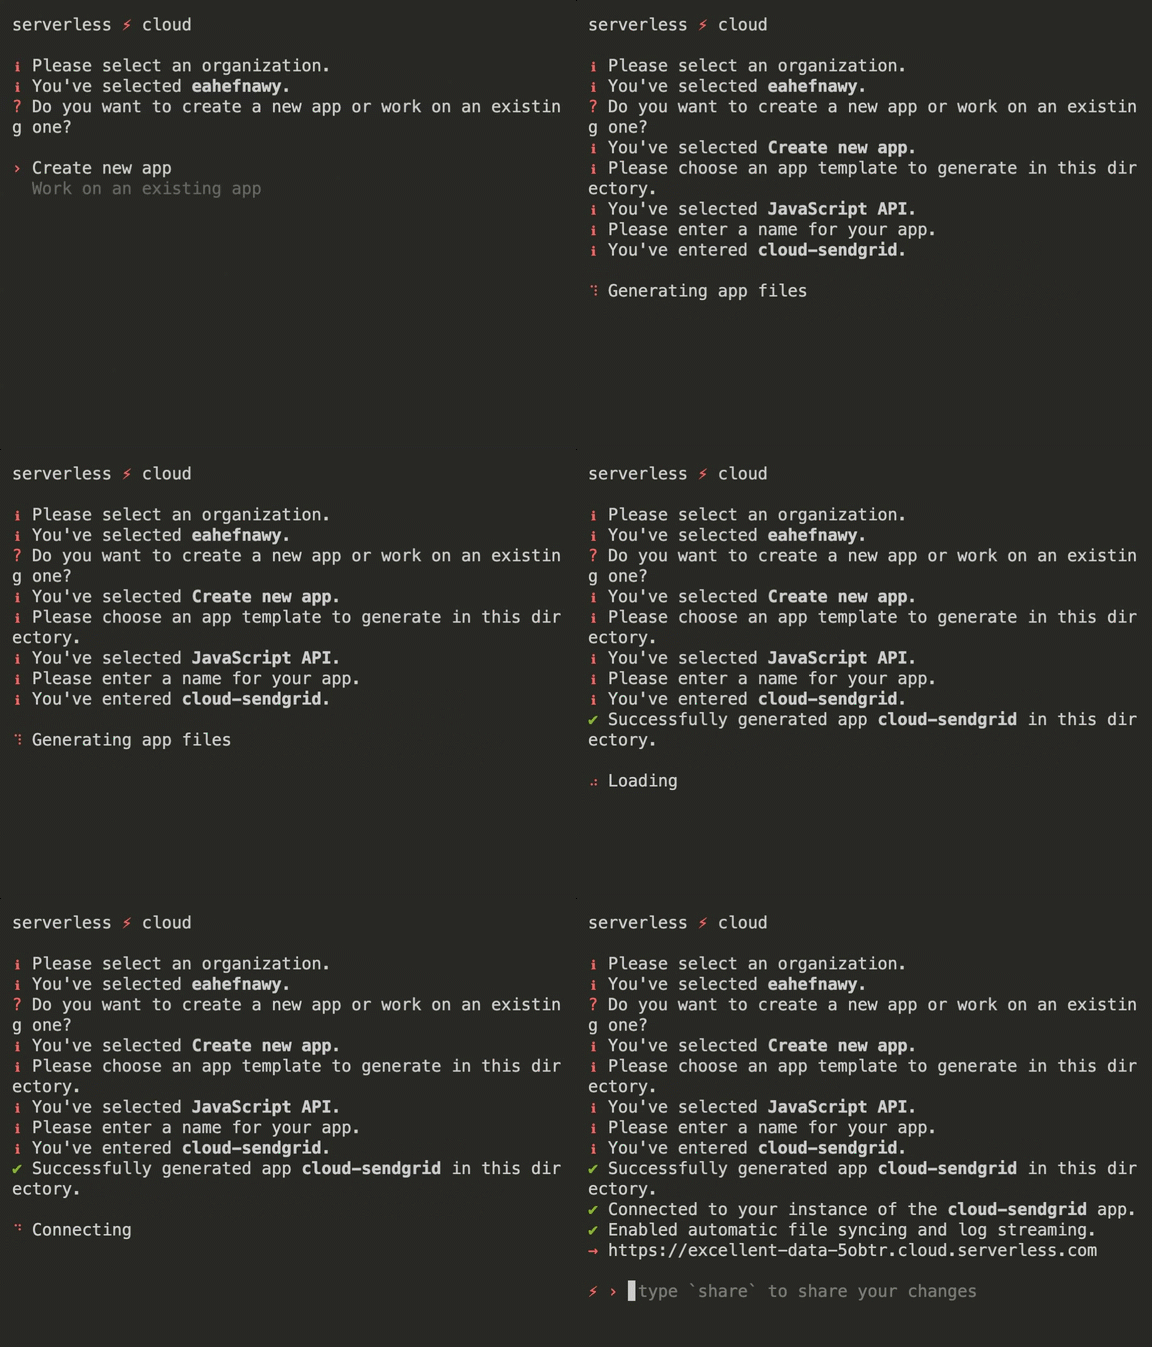
After you make your selection, a new app will be generated in the directory you just created. The CLI will connect to your development sandbox and start the interactive shell. You will need the @sendgrid/mail NPM package to integrate with SendGrid. You can install it by running the following command in the interactive shell.

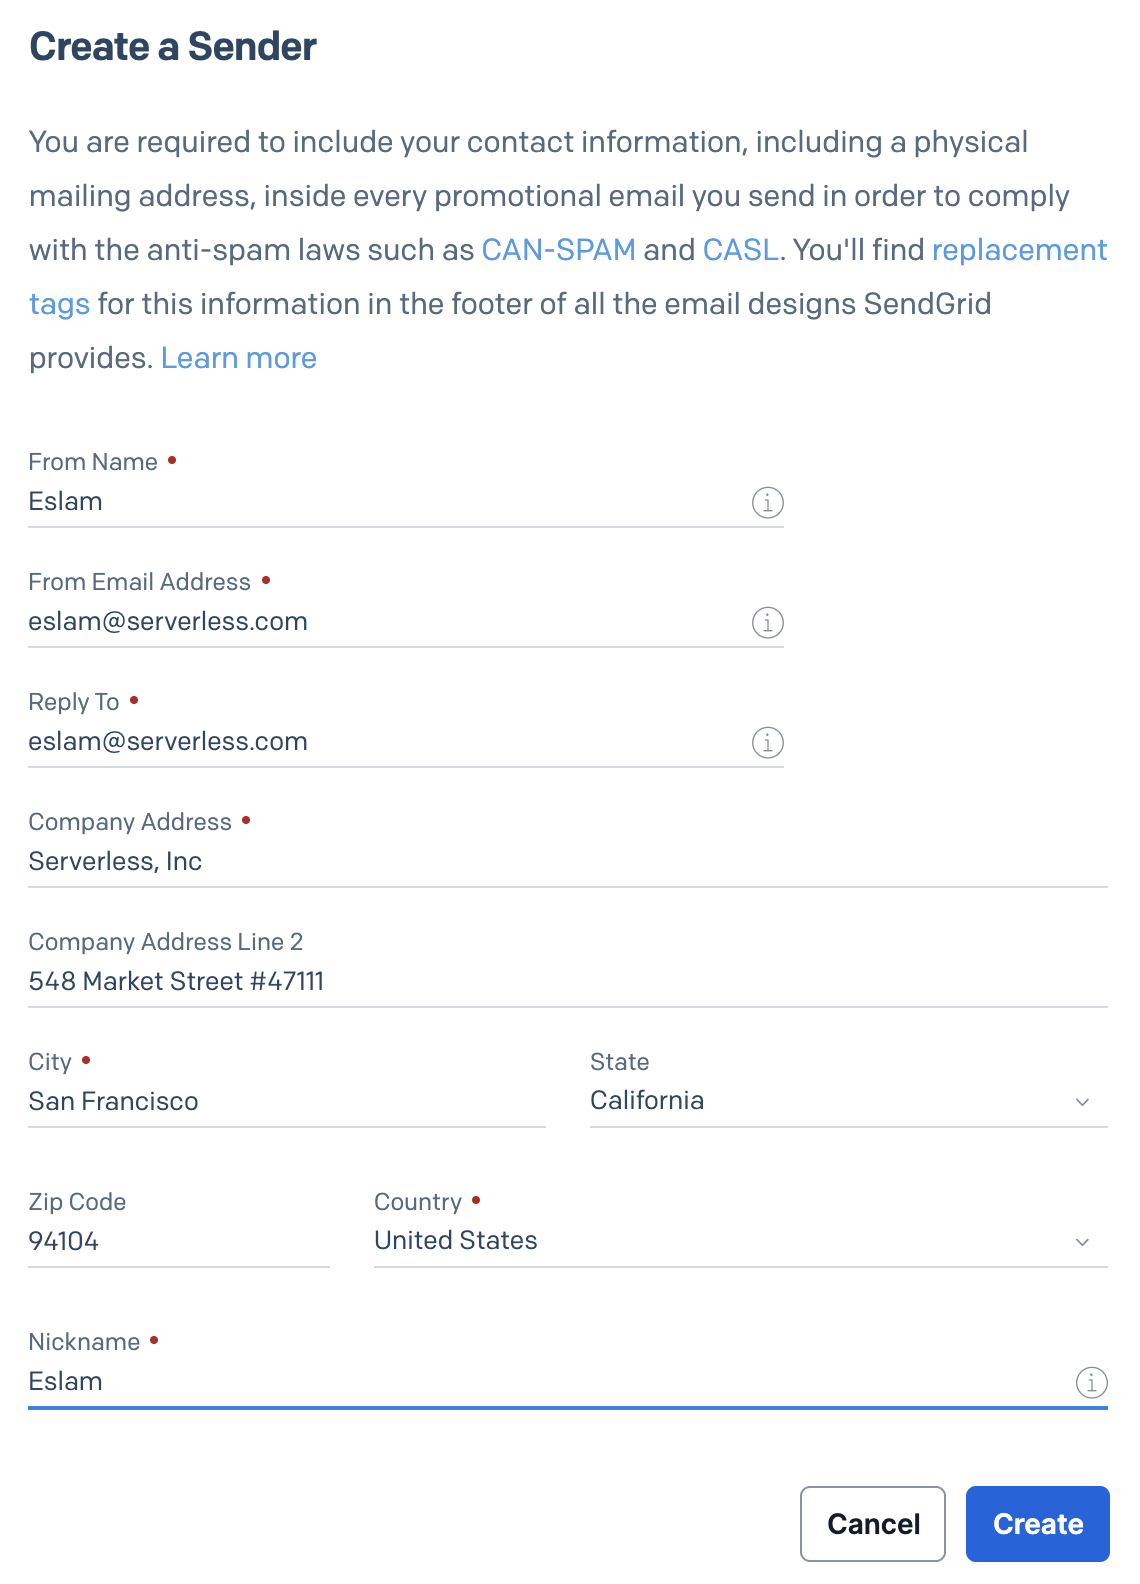
To access the SendGrid API, you will need a SendGrid API Key. You can create one in the SendGrid dashboard. You’ll also need to verify the email address you will be using to send emails on the SendGrid dashboard, otherwise SendGrid will reject all your API requests. As you can see below, it requires a little bit of typing to comply with anti-spam laws, but once you’re done, you don’t have to worry about it again. We’re using our mailing address for demonstration, which is found on our website anyway, but you’ll need to add your own mailing address.
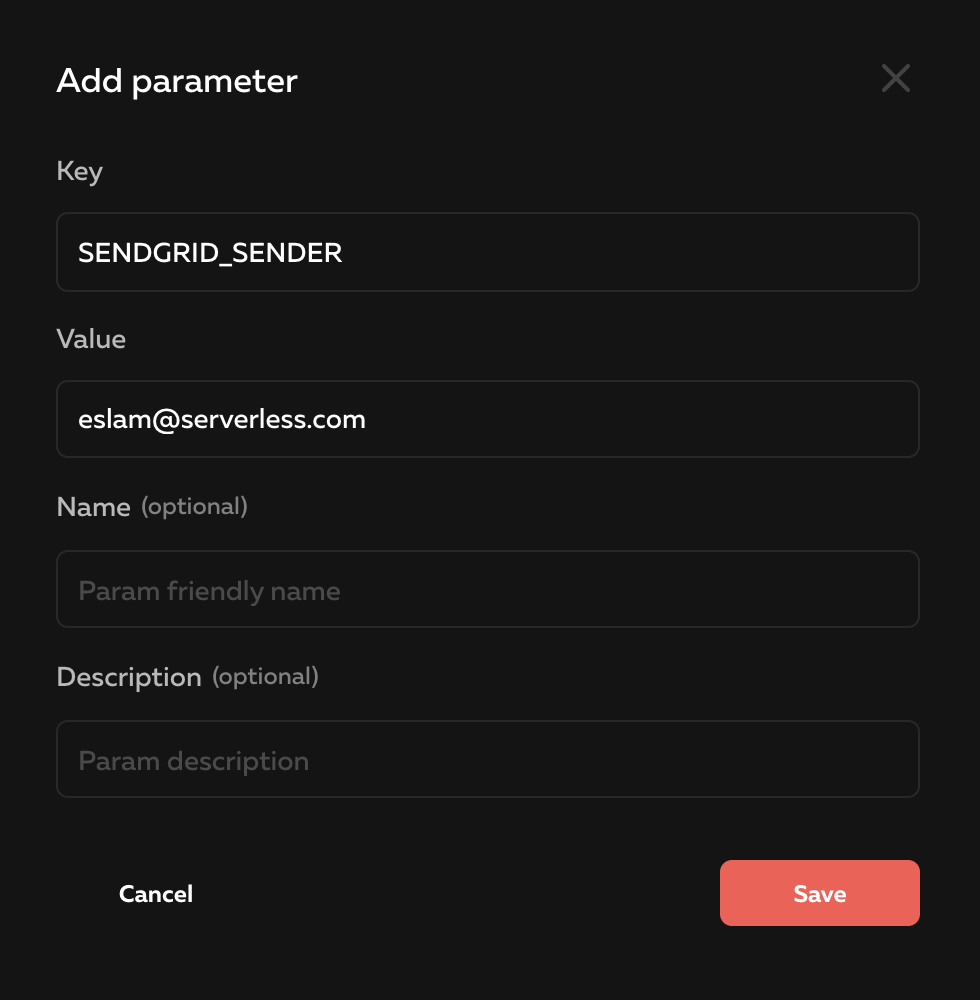
Once you’re done with both of these things, you need to save the API key and the sender email address you verified as Parameters on Serverless Cloud Dashboard to securely access them in code. To do that, type "open" in the cloud shell to open your app dashboard page on the browser, then click on “Parameters” > “Add new param”. Name your param SENDGRID_API_KEY and add the API Key in the “Value” field, and another one for SENDGRID_SENDER. You can see below how that might look like. Remember, you’ll need to add two parameters.
Developing the Serverless Cloud App
You are now ready to develop your email functionality. Open the index.js file that was generated, and replace the sample boilerplate content with the following code.
All we’re doing here is importing the SendGrid package, creating a POST /send endpoint, validating the body, and calling the .send method from the SendGrid npm package with the required parameters. Notice how we reference parameters in code, and how we set the "from" property to the sender email address you verified above, which is, of course, required by SendGrid. As for the to property, we’re using the same sender address just for demonstration. In the real world, you’ll probably be sending the email as a part of a certain workflow (ie. user signup), so you may not need a dedicated endpoint, and you’ll probably have a different email address each time you send an email. But we’ll just leave it as that for the sake of demonstration.
Testing the Serverless Cloud App
With the interactive cloud shell running, it’s automatically watching and deploying your changes to your personal sandbox. As a result, all of the code you added above should be ready for testing. Serverless Cloud provides two ways to test your APIs, and they’re both just as easy.
Manual Testing
You can use the Serverless Cloud Interact feature to manually play around with your API and test your changes. To try it, run the "open" command in the interactive shell to open your app dashboard, and click on your personal sandbox instance that follows your username. Then, click on the “Interact” tab.
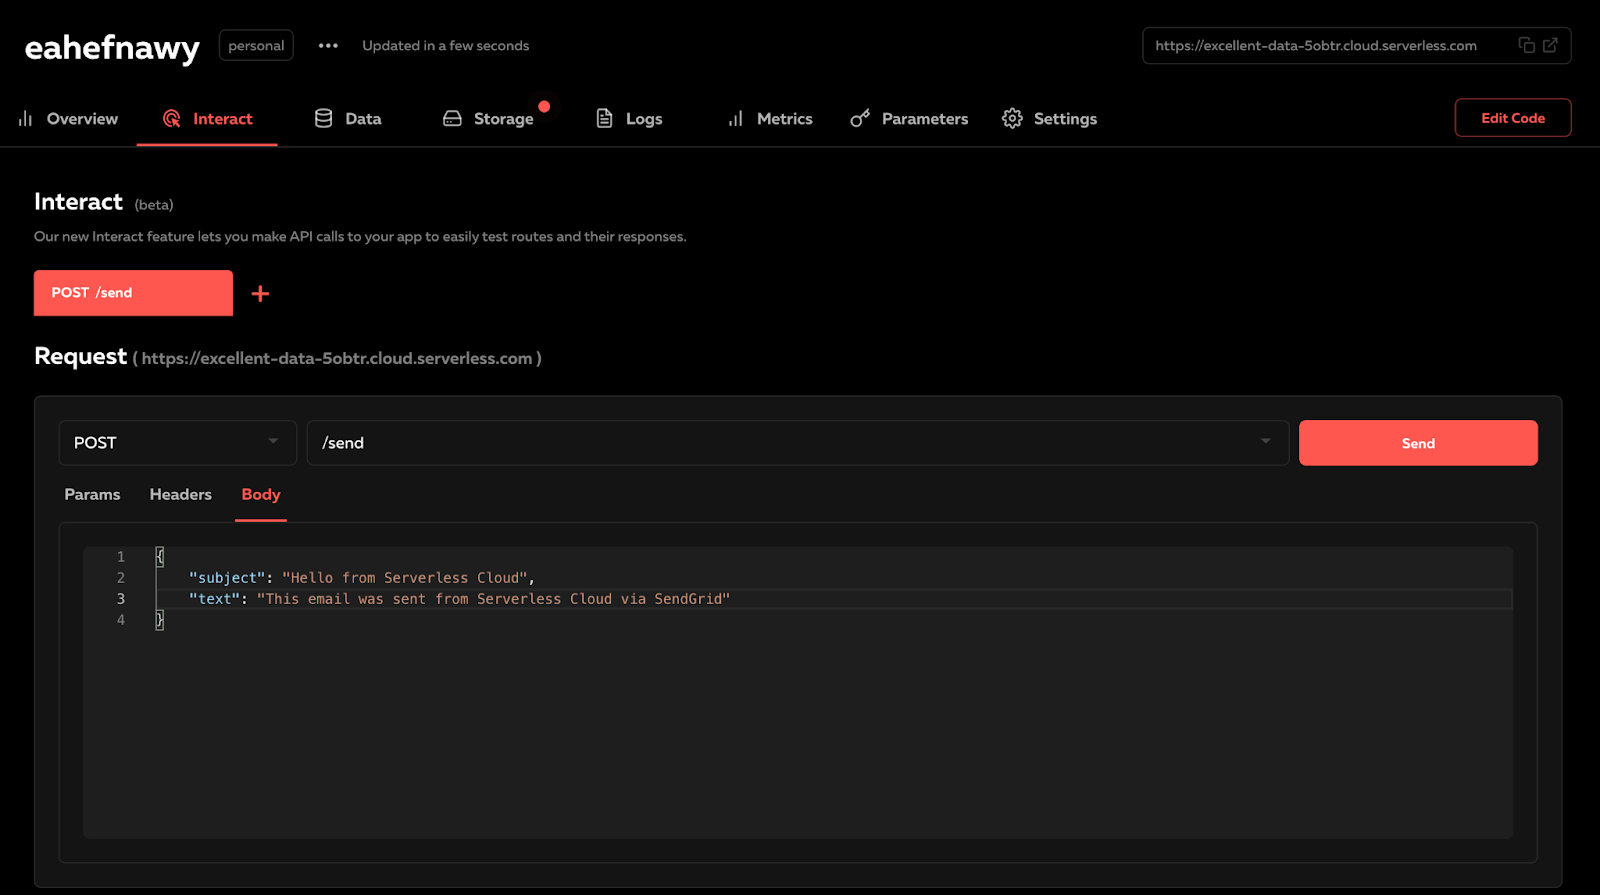
The interact feature is smart enough to know what endpoints and methods you have in your application, and allows you to easily send HTTP requests to test your API. In our case we only have one POST /send endpoint, and it requires a subject and body properties to send as an email. Add those in and click on Send to send the request and see the response.
You should now receive an email in your inbox with the content you provided. Make changes to the content and try again. You should be able to see another email with the new content.
Automatic Testing
The Interact feature is great for playing around with your API, but what’s even better is testing your live endpoints with actual code that you could easily run anytime. This is what is known as integration testing, and Serverless Cloud makes that super easy.
You should already have a test/integration/api.test.js file created for you when you created your app. Open this file, and replace its content with the following test.
All we’re doing here is exactly the same thing we’ve done manually with Interact. We’re invoking the POST /send endpoint, and much like Interact, the testing environment is already aware of your root URL, so you don’t have to provide it. To run this test, type `test` in the cloud shell.
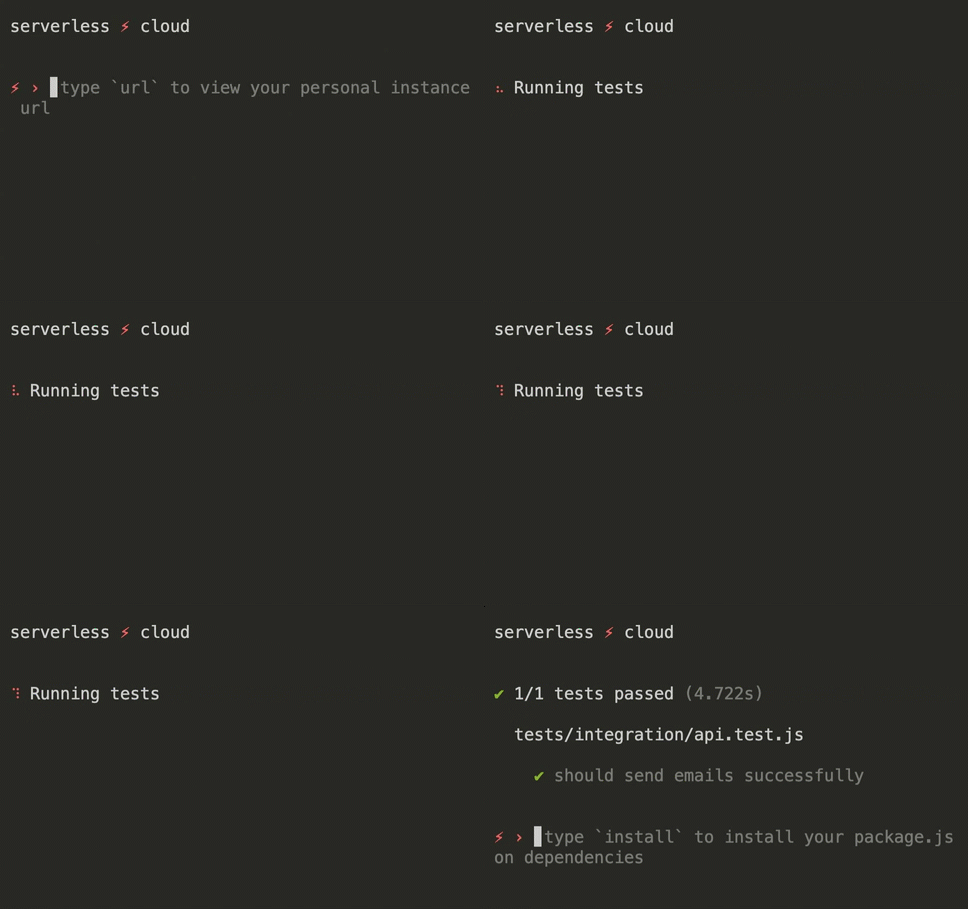
Keep in mind that integration tests work with real infrastructure. That means every time you run the test, you’ll actually receive the specified test email. Integration tests are great as a sanity check to make sure everything works as it should, but it shouldn’t be run as often as unit tests.
Deploying the Serverless Cloud App
Now that you’ve made sure everything is working in your personal sandbox, you are ready to deploy to production. This essentially deploys your changes to an isolated working and tested environment that is not impacted by future changes you make to your personal sandbox. You can deploy to production by running the "deploy production" command in the cloud shell, which will return a completely new live url for your application that you can use in production.

Summary
You now have a live mailing service powered by SendGrid. You’ve seen how to create an application on Serverless Cloud, how to get started with SendGrid. You’ve built a simple endpoint that integrates with SendGrid to send emails, and you’ve seen how to test that both manually and automatically. Finally, you’ve deployed everything to production. You can take a look at the complete example application here, and if you ever get stuck, visit our documentation. If you want to build your own, sign up for Serverless Cloud.

