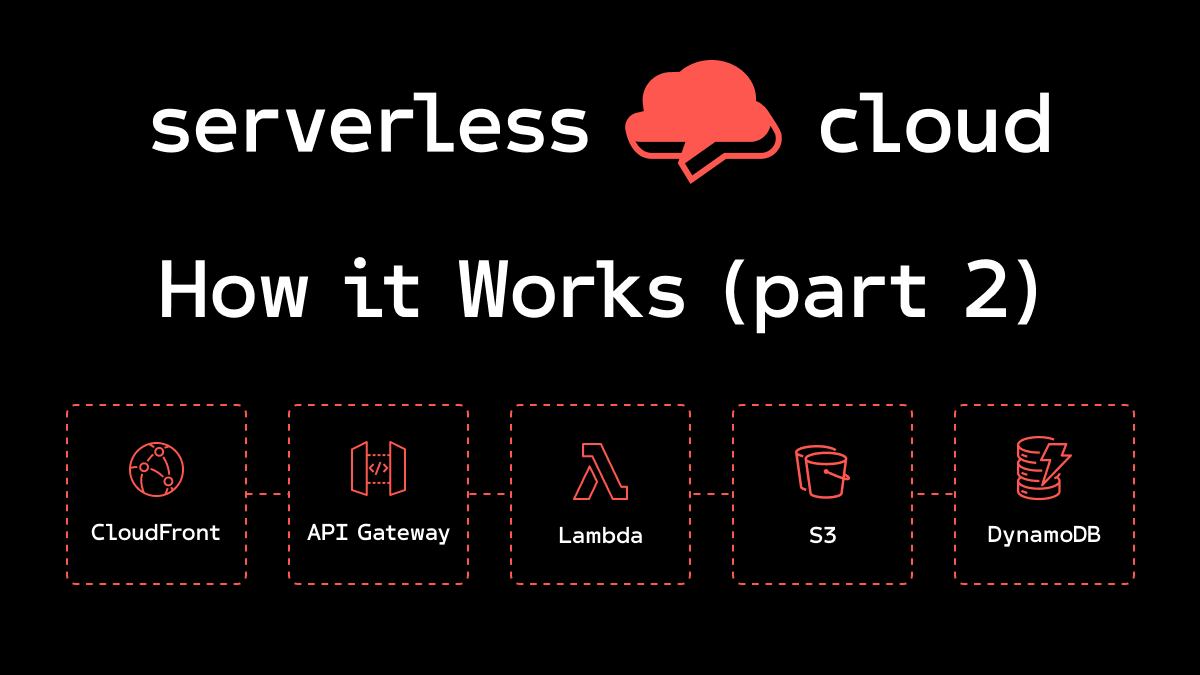
The Serverless Development Kit (SDK)
In part 1 of the "How Serverless Cloud Works" series we introduced Serverless Cloud and talked about when and why you should use it. We learned what's inside an instance, and what makes developer sandbox instances different from stage instances. We also created our first sandbox instance and saw how our code was deployed instantly to the cloud.
Next we're going to dive deeper into the Serverless Development Kit and learn a little about how it works under the hood.
What is the SDK?
The Serverless Cloud SDK is a set of programming interfaces that your application code uses to interact with Serverless Cloud at runtime. It lets your application do things like set up an HTTP API, store and query data and files, and set up scheduled tasks. The interfaces are documented in our public documentation, and the list of interfaces will continue to grow over time so you should subscribe to our mailing list or follow our blog to receive announcements of new features.
We'll go through each of the current list of interfaces one by one and talk about what they do, with some examples of how you could use them, and give you a glimpse into how each interface works under the hood.
api
Every instance in Serverless Cloud has an HTTP endpoint, and the `api` interface is where you describe how your application should respond to incoming HTTP requests. It has an interface very similar to Express.js, where you call methods that correspond to HTTP verbs, and provide the URL path and a function that processes the incoming request and builds the response.
For example, let's say we are building a stock quotes API. We use `api.get()` to create a handler for "get" requests with the path "/stock/:symbol":
For now our example just returns a static "ACME Inc" response, but we'll extend this to use dynamic data in the next section.
We can use the "interact" tab in the Cloud dashboard to make a GET request and see the result:
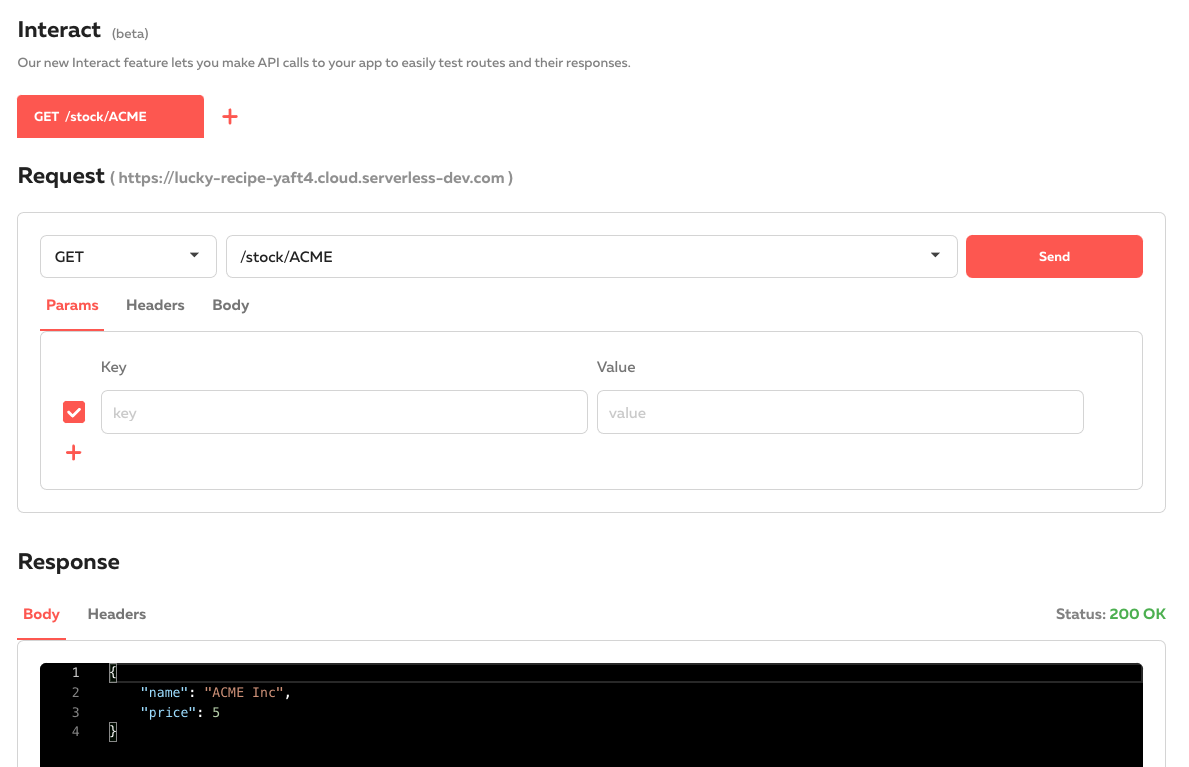
We could extend this API to handle other HTTP methods like POST, PUT and DELETE to build a fully featured "REST" API.
Under the hood Serverless Cloud creates an API Gateway, CloudFront distribution, and Lambda functions to handle your incoming request, then uses your application code to process it and create the response.
data
Each Serverless Cloud instance has a datastore that uses DynamoDB under the hood. The `data` interface provides a clean, typed way to access "structured" data in the form of Javascript objects.
You can create or update an item with `data.set()`:
Then you can retrieve it with `data.get()`:
Your item keys map to the DynamoDB partition and sort keys. In this example, we are storing stock prices using a partition key of "stock_${symbol}". You could also use a key such as "stock:${symbol}", which would use "stock" as the partition key and the symbol as the sort key. Data modeling in DynamoDB is beyond the scope of this article, but for this example, using just the partition key will give us better read and write performance since it will spread requests across more partitions than if we used "stock" as the partition key.
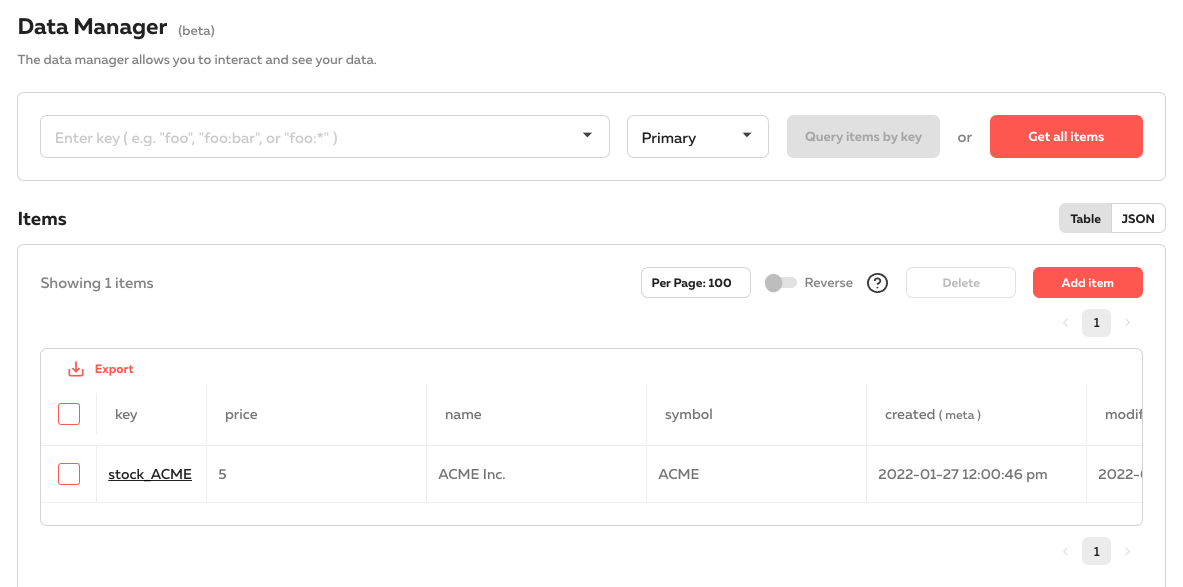
You can inspect and modify your data through the Data Manager in the Cloud dashboard:
You can also use DynamoDB global secondary indexes by adding labels to your data. For example if you wanted to be able to look up stocks that were last updated by a given user, we could add a label to each stock that would allow a lookup by user ID:
This would let you retrieve stocks by user ID:
Serverless Data also allows your application to react when items change using `data.on()`. This is a very powerful feature that uses DynamoDB streams to notify your application whenever an item is created, updated, or deleted.
For example we could use `data.on()` to send a price update any time a stock price changes:
Data is a very powerful feature in Serverless Cloud with a lot more functionality than we can cover here. Make sure to check out the docs to learn more.
storage
`storage` is the interface for Serverless Storage, which lets you store and manage files in your instance. Storage is backed by AWS' Simple Storage Service (S3), so it's extremely scalable and durable. As with other SDK interfaces, `storage` provides an easy to use programming interface for managing files. You can also manage files through the Cloud Dashboard, which provides a familiar file management interface that supports folders and drag and drop actions.
For example, we can upload a logo to go along with a stock symbol by dragging and dropping it into the file manager. To make files public, we store them in the "public" folder. Any files in that folder are publicly available through your instance's HTTP endpoint. Behind the scenes, public files are served directly from S3 through your instance's CloudFront distribution.
To upload files programmatically, you use `storage.write()`. This can be combined with the `api` interface to let users upload logos in our stock price example. When a file is uploaded to an API path, the file buffer is available in the `req.files` array:
If you want to process your files in some way, you can read their contents using `storage.read()`. There are also methods for getting a time-limited URL to private files, and much more.
schedule
The schedule interface is one of the simpler interfaces in the Cloud SDK. As the name implies, it lets you run scheduled tasks. This runs a task every five minutes:
Under the hood, this creates a CloudWatch event rule to invoke your handler. Pretty straight forward, but you didn't have to write a line of CloudFormation, right?
There's also `schedule.cron()` if you'd like to schedule your tasks that way instead, which gives you more power over exactly when your task runs, like every hour on the hour.
params
You guessed it, the `params` interface lets you access your parameters. This is a deceptively simple interface that hides a lot of complexity behind the scenes.
Parameters can be configured in the Cloud dashboard at the organization and app level. This lets you set up parameters that are shared between apps and instances, which can then be overridden.
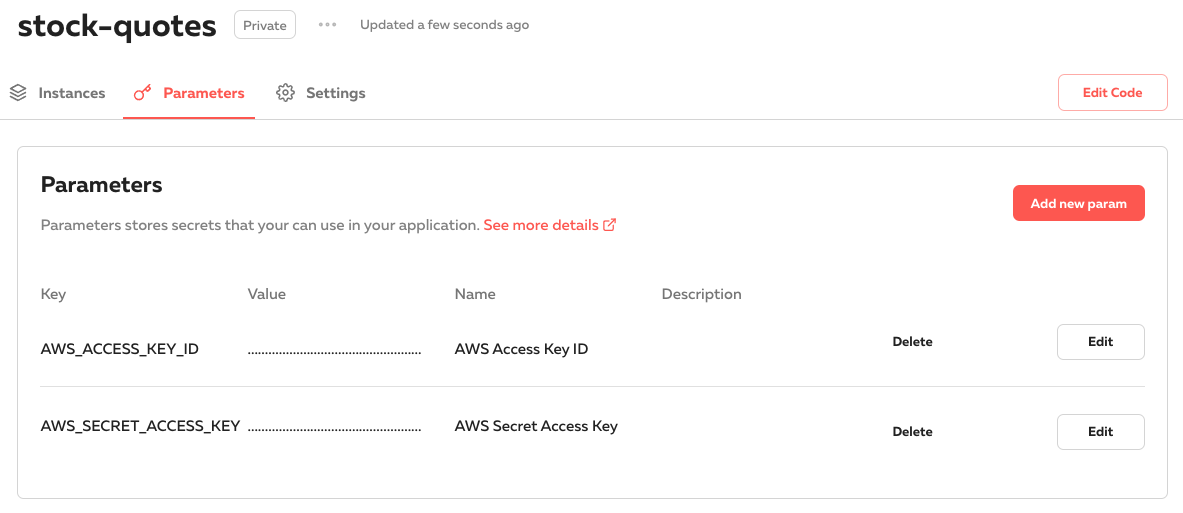
For example; if you have AWS credentials you want to share across all your development instances, you could set up the credentials as application parameters:
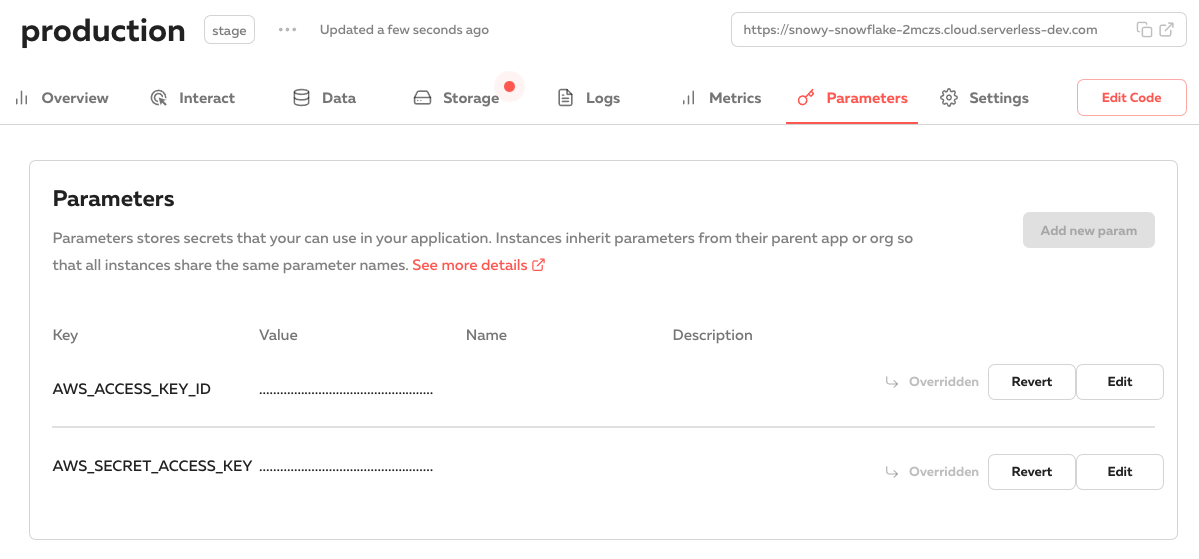
And then override the credentials in your production instance:
Parameters are accessible through the `params` interface in your code:
Your parameters are encrypted and stored in DynamoDB, and all affected instances and apps are immediately updated when you change a parameter value. No need to redeploy or wait for a cache to clear.
http
Some users may want to use an API framework other than the Express-like `api` interface that we provide out of the box. We call this "Bring your own framework" and the `http` interface is how you accomplish it. You can think of `http` as being a layer underneath the `api` interface. In fact, `api` uses `http` under the hood. `http` has a single method, `http.use()` which lets you "plug in" your own framework. Here's an example that uses Koa.js:
We've tested this with popular frameworks like Express, Connect, Koa and Restana, and we unofficially support some other frameworks listed in the docs.
Conclusion
There is a lot going on under the hood in the Serverless Development Kit. It handles your data, files, APIs, and parameters, all through an approachable yet powerful set of interfaces. It is designed to make your development life easier by hiding the complexity of cloud infrastructure so you can focus on your core business logic.
The SDK already packs a lot of features, but you can expect to see many more interfaces soon to let you work with queues, websockets, GraphQL, authentication, authorization, and more.
Make sure to check out the docs for all the details, join our Slack channel, and follow us for updates. Reach out and let us know what great things you are building with Serverless Cloud! If you’re ready to start now, sign up for Serverless Cloud!
In Part 3, we'll look at the Serverless Cloud Control Plane and how it helps manage instance provisioning, resource deployments, developer sandbox code syncing, and system health.